Uploading data by starting from the Subject List
- 21 Aug 2024
- 2 Minutes to read
- Print
- DarkLight
- PDF
Uploading data by starting from the Subject List
- Updated on 21 Aug 2024
- 2 Minutes to read
- Print
- DarkLight
- PDF
Article summary
Did you find this summary helpful?
Thank you for your feedback
Overview
Starting from the Subject List, select your target subject.
Click the ellipse (...) and then press Open Uploader.
Select files, folders, or drag and drop.
Press Next when the files/folders are selected and appear in the main body of the screen.
Click any checkboxes that may apply and then press Next.
Complete the signature page to initiate the upload.
Information Scope
Solution: Medical Imaging
Platform: NxT
Expand for detailed instructions…
Navigating to Clario's Uploader via the Subject List
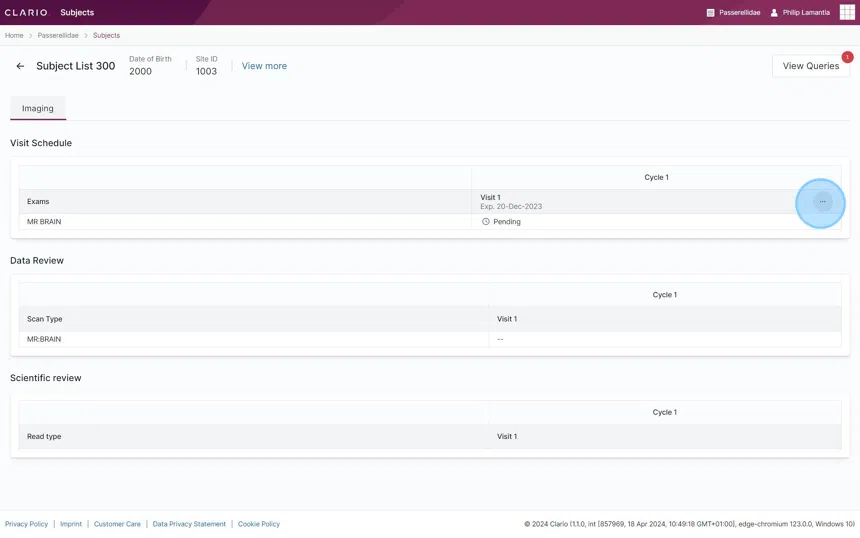
1. Click Subjects.

2. Click anywhere in the row that displays your target subject. This will launch you into that subject's specific page.
 - Step 4(1).png "How do I effectively navigate a subject-specific page_ (2) - Step 4(1).png")
3. Click the ellipse (“...”) and then press Open Uploader. This enables you to upload data by starting on any subject-specific page.
Uploading Subject Data
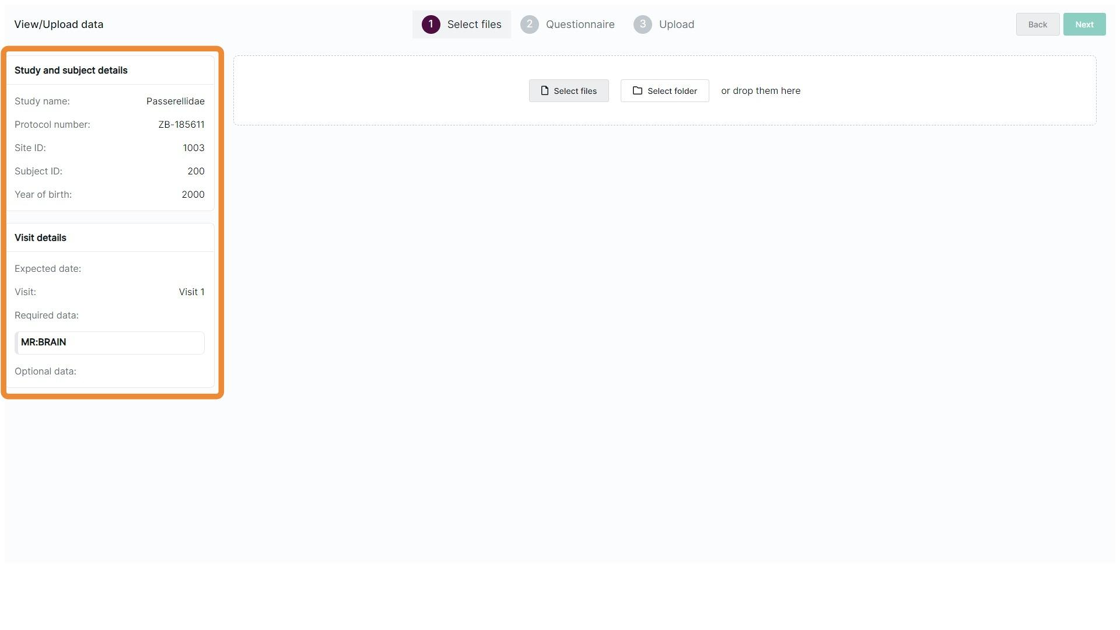
1. Check the study, subject, and visit details before uploading data.
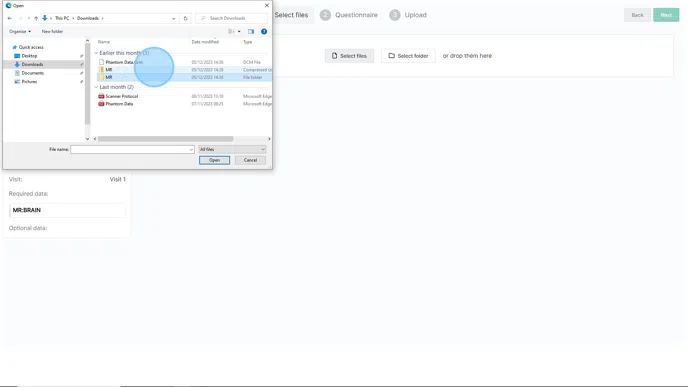
2. Click the upload option that best suits your need.
You can select individual files.
You can select an entire folder of files.
Or you can drag and drop the intended contents directly onto the page.

3. Select the file from you computer's file explorer or similar feature. Then press Open.
Top tips for upload requirements
Uploads must be less than 2GB in total size.
Zipping the data will decrease the total upload time.
Zipped files must not be password-protected.
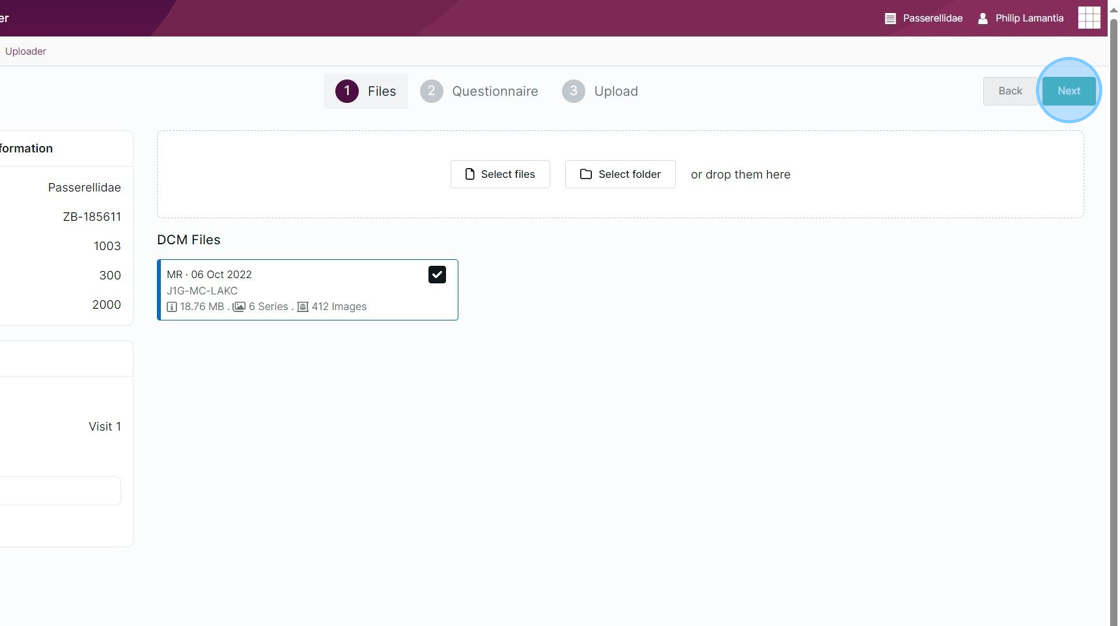
4. The selected files will now appear in the main body of the screen. Click Next.
5. Respond to the prompt by clicking inside the appropriate empty checkbox. You can select as many responses as fits your situation.

6. Click Next.

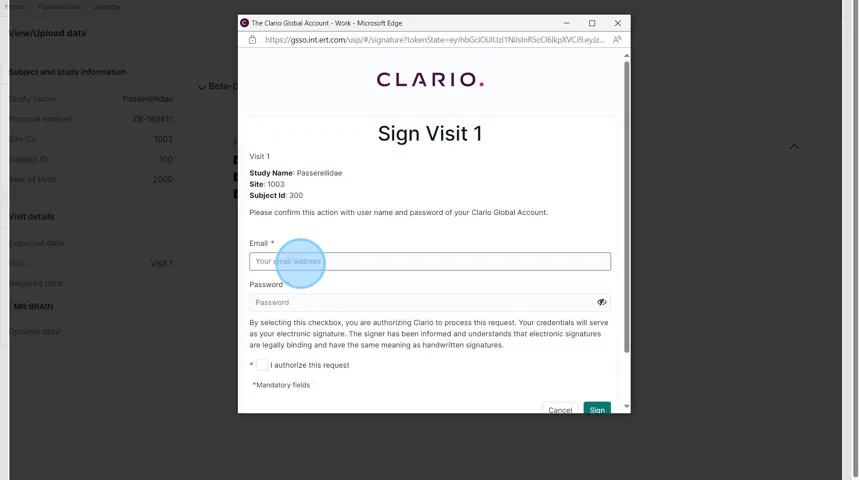
7. Respond to the required fields and press the Sign button to complete the form. The upload progress will display on your screen and you’ll later be notified of the upload completion.
Do not close this window while the upload is processing.
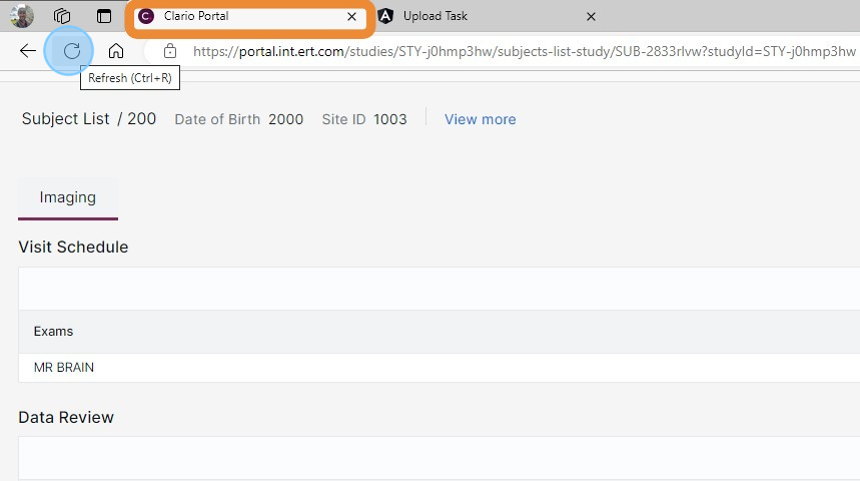
8. Navigate back to the Clario Portal web browser tab so you see the subject-specific page again. Then refresh the web browser.
The screen will turn grey at this time. This is normal behavior. You’ll notice a spinning circular icon that indicates the page is reloading.
9. The subject-specific page is now updated and it displays the status of the content you uploaded.

Other actions
1. You can cancel an upload by clicking Cancel Upload.

2. You will be asked to confirm that you want to cancel the upload. Select Confirm to cancel the upload or press Cancel to allow the upload to complete.

3. The View/Upload data screen will confirm that your upload has been canceled.

![]()
Was this article helpful?